


The Secret to Layering Tinted Serum and Concealer Flawlessly
Master the perfect application technique in four steps


Before applying any makeup, Ramzy says hydrating the skin is key. “I love using my facial oil under makeup and then going in with a semi-matte concealer which then glides on perfectly,” she says. “If you have oily skin, you might want to balance that with a primer first to give enough grip to the skin so that the concealer doesn’t slide off your face.”
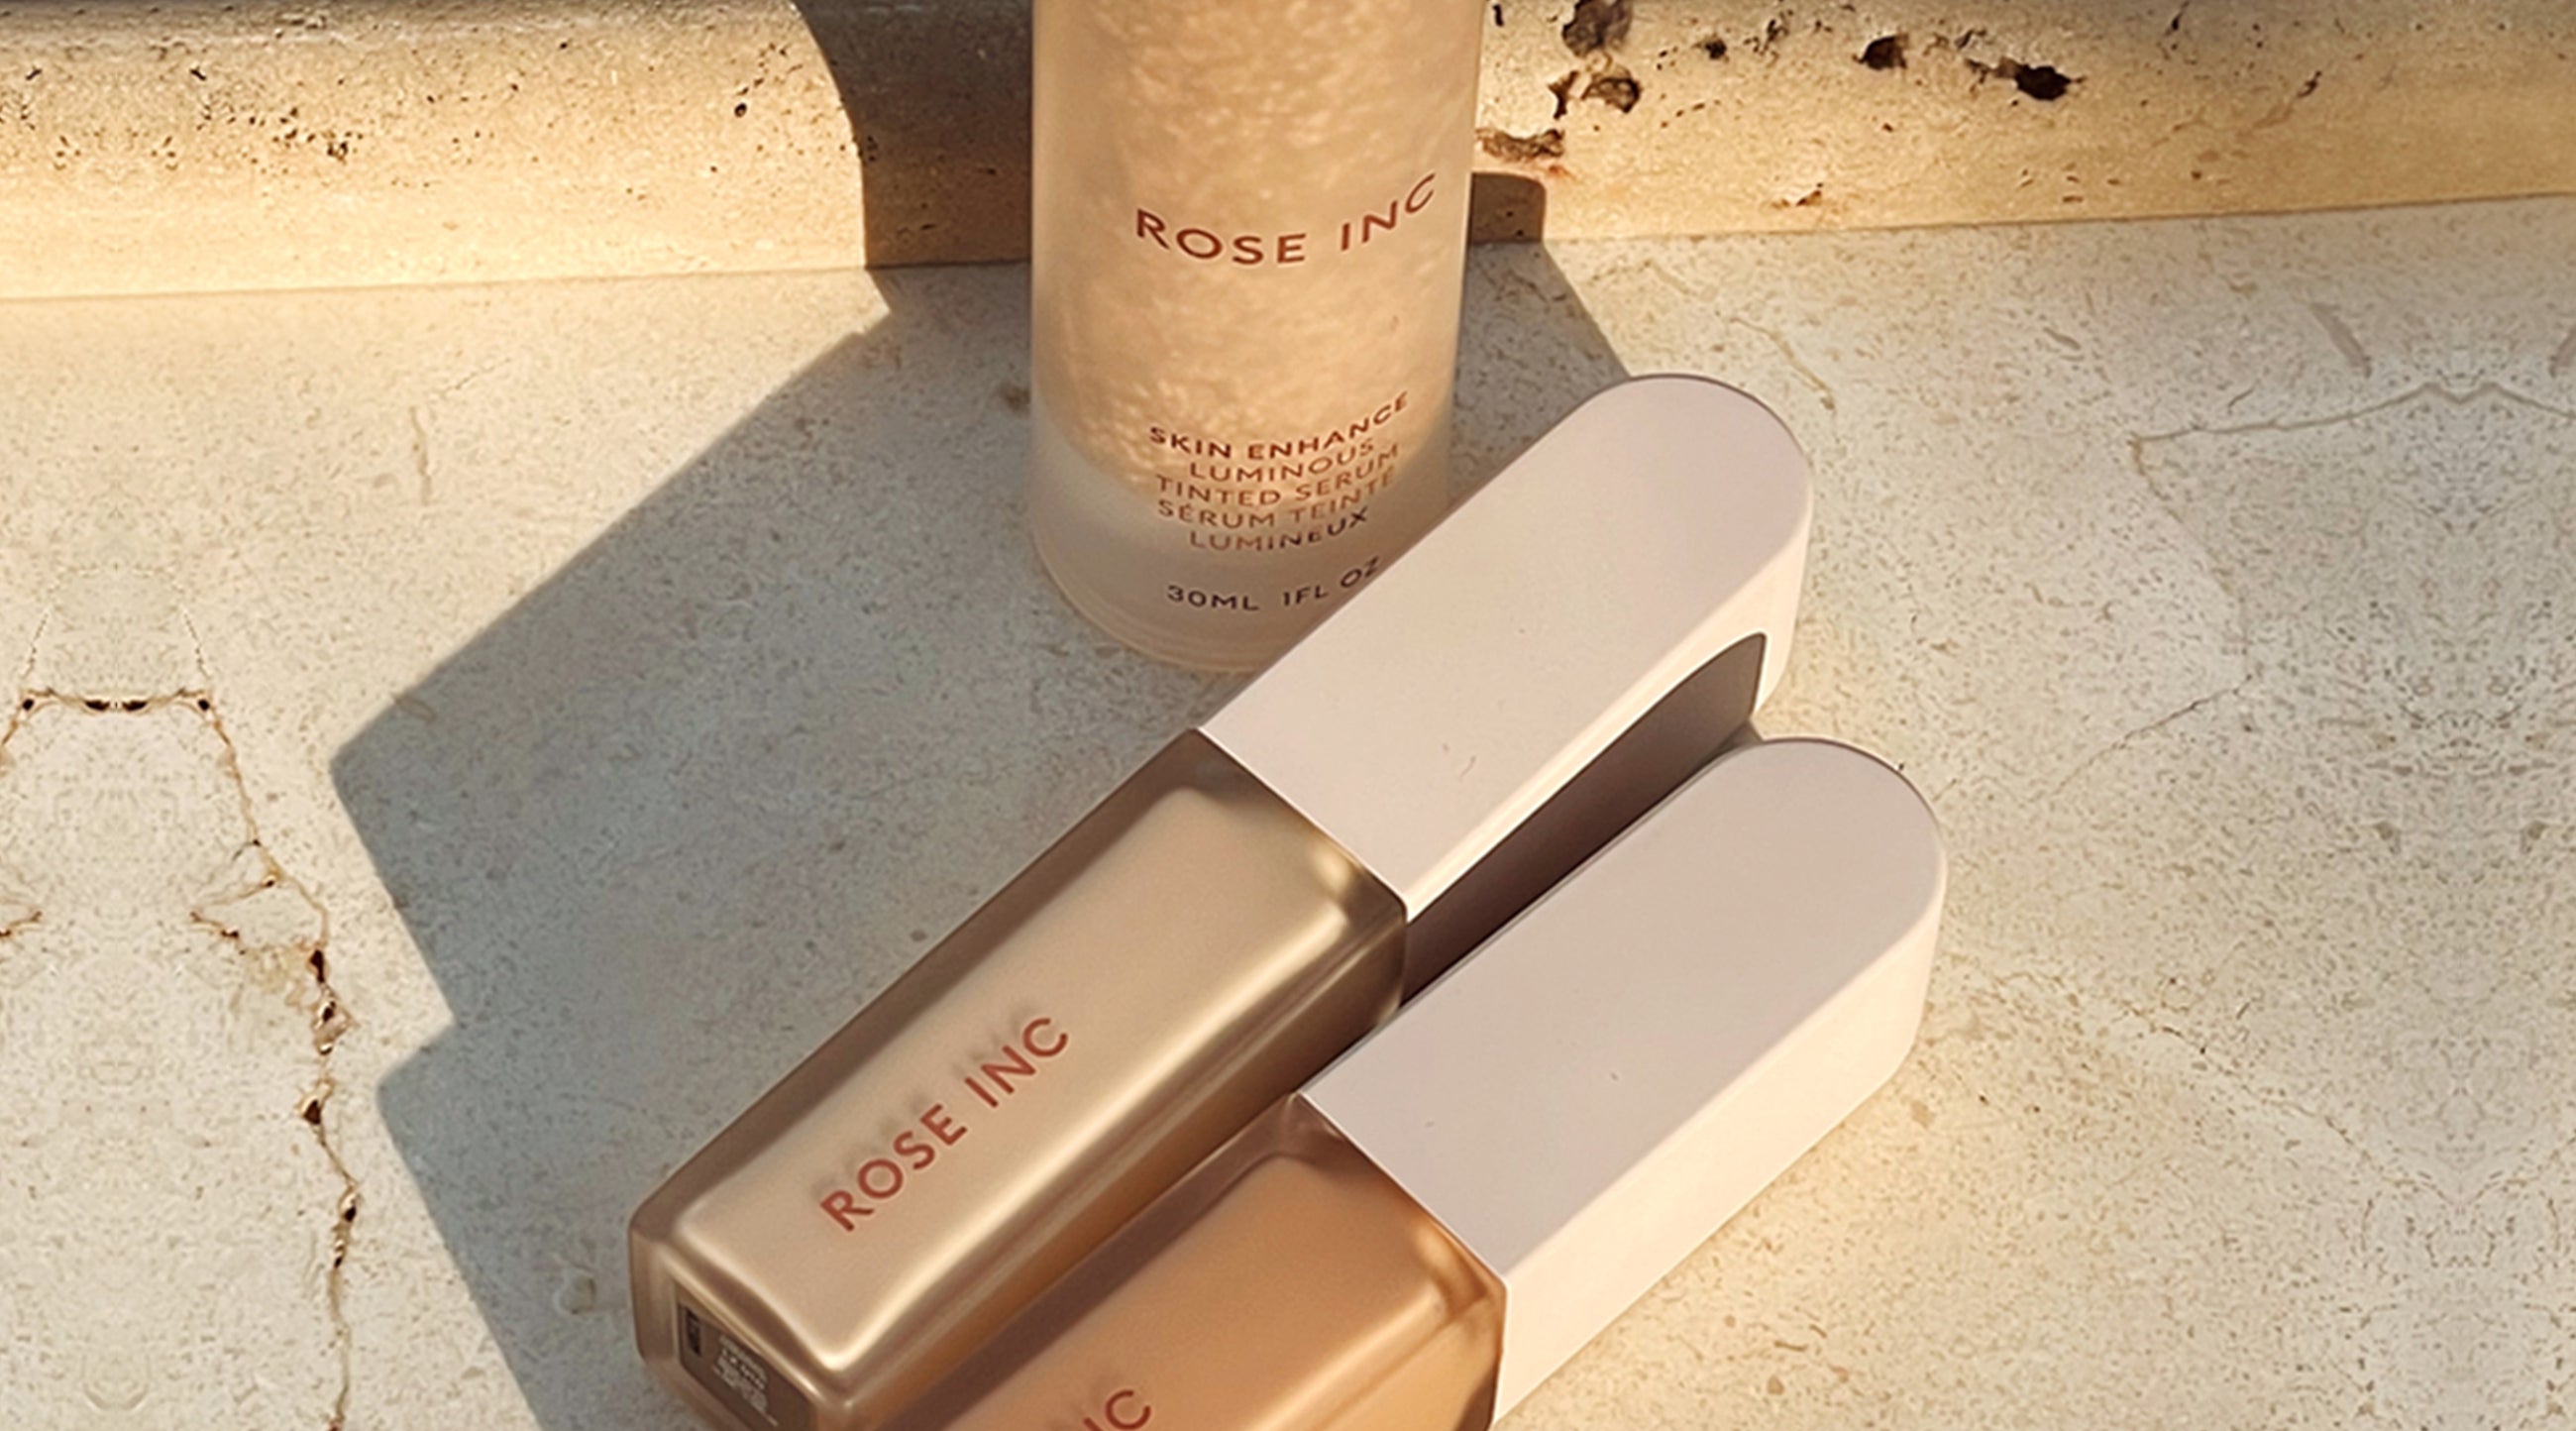
Aunique recommends applying your foundation first before going in with concealer. If you need extra coverage, she says you can apply a bit of concealer before your foundation. Ramzy notes that most foundations provide great coverage on their own. So by concealing first, you may add more than you need, which can result in a cakey look.

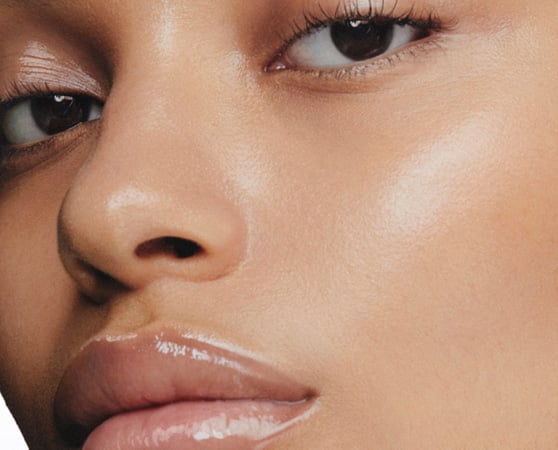
Once you set your foundation, Ramzy suggests looking at the entire face and accessing where the trouble areas are and starting there. This will differ for everyone. “For me personally, it’s under my eyes, in the inner corner area underneath and then around the nose where I get the most redness,” she says.
The most common concealer placement is under the eyes. “I like to swab a dot on the inner corner and outer corner of the eye,” Aunique says. The lines underneath the eyes, she adds, travel from the outer corners to the inner corners, so applying the concealer from the outside can help prevent creasing.
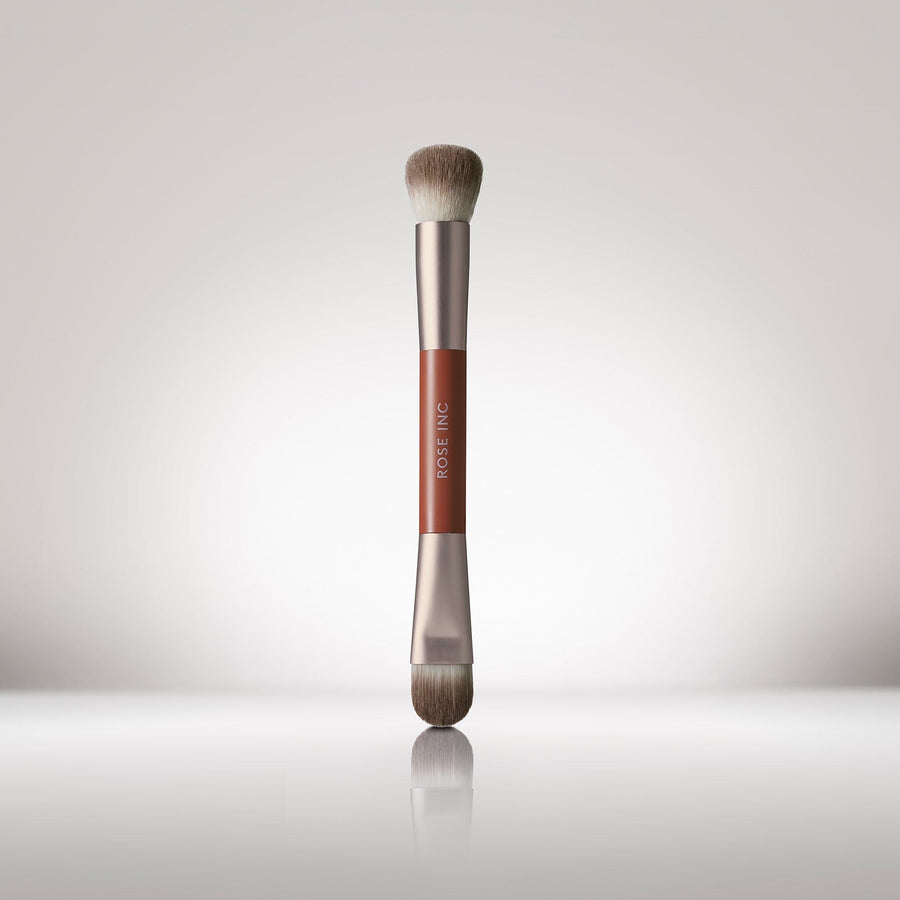
The tools you use to apply concealer also impact the result. Ramzy recommends placing the concealer where needed using the concealer’s built-in applicator, a fluffy dome-style brush like Rose Inc’s Number 4 Dual-Ended Concealer Brush, or your fingers, which will help warm up the product. Once you place the concealer, it’s time to blend. “I prefer a flat foundation brush to apply when I want more coverage and a beauty blender when I want less coverage,” Aunique says.

Blemishes also require some concealer TLC. Again, Ramzy says the trick is to moisturize the area and give it enough time to thoroughly soak up the skincare, preventing it from looking too dewy. “Go in with your concealer and dot on the pimple and leave it for a couple of minutes,” she says. “Then, with your finger or a fluffy brush, blend out the edges, so the concealer is diffused.”
For a seamless and crease-free concealer application, the main thing to remember is less is more, especially for the under-eye area. “I recommend not putting too much product under the eyes,” Aunique says. “The under-eye [area] is very thin skin, and you want to be careful to not do too much.” If you accidentally overdo it, Ramzy’s pro tip is to take a clean, damp beauty blender or fluffy brush to pick up excess product and blend it all out.

In addition to covering up complexion imperfections, concealer also works wonderfully as a brightening tool. For this use, Ramzy instructs applying concealer under the outer eye going upward.
Another creative technique involves using concealer to sharpen winged liner. “Once you’re happy with the wing, take an angled brush and follow the outline next to the cat eye, the other sides of the line,” Ramzy says. "Then blend the concealer away from the liner very delicately, so you don’t interfere with the liner. It’ll further contrast the liner and give it more definition.”
To set the concealer and lock it in place, Aunique advises applying translucent powder using a damp beauty sponge. Pro tip: She recommends looking up as you do this to make the application easier. If you don’t have any setting powder on hand, no worries. Leaving the concealer as is without setting will give it a radiant glow, Ramzy says. Use blotting sheets if you need to remove excess oil during the day.
Master the perfect application technique in four steps

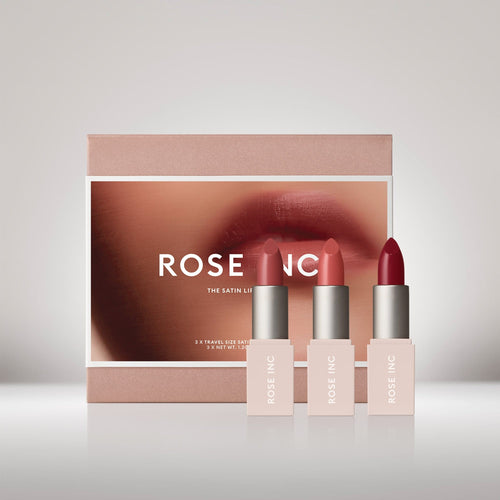
Find the perfect Satin Lip Color and Cream Blush pairing to create your look
Get a summer glow all year long, sans UV rays
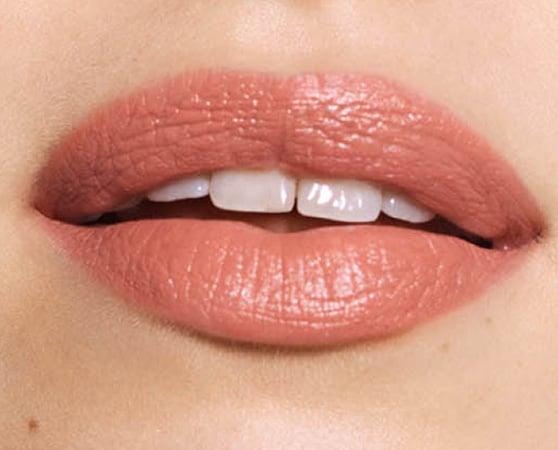
Besotted
Beige pink
Add items to your bag to unlock this gift.
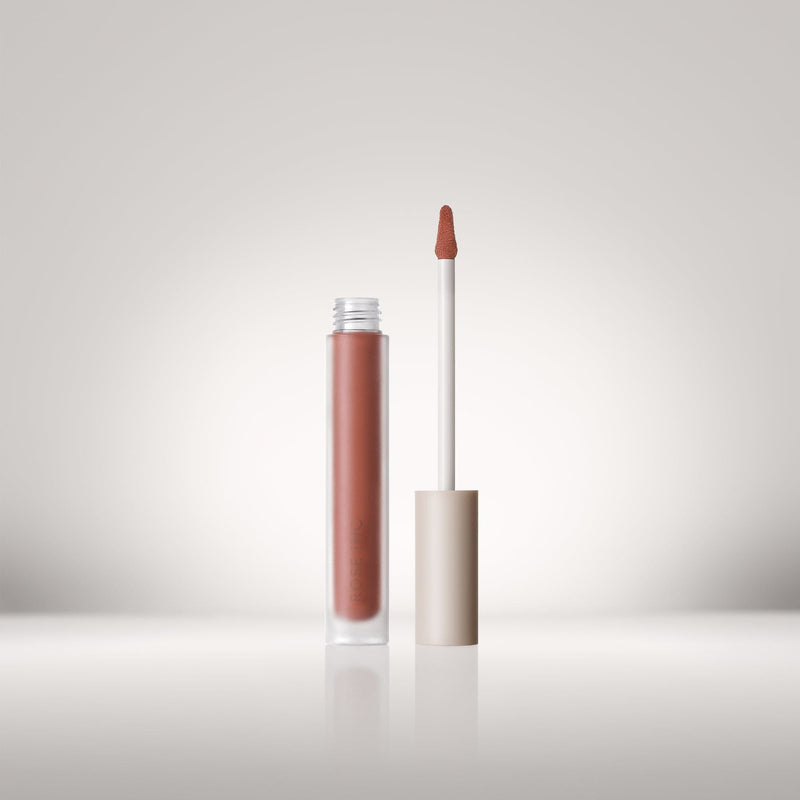
Satin Copper
Rich red copper
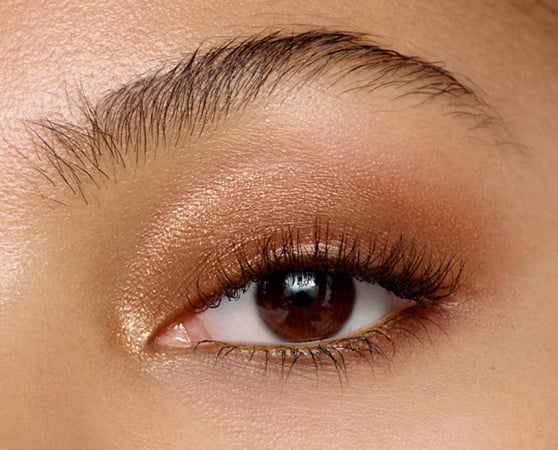
Heliotrope/Enigmatic
Apricot & Terracotta Pink
White Gold Shimmer
Light gold with pearl