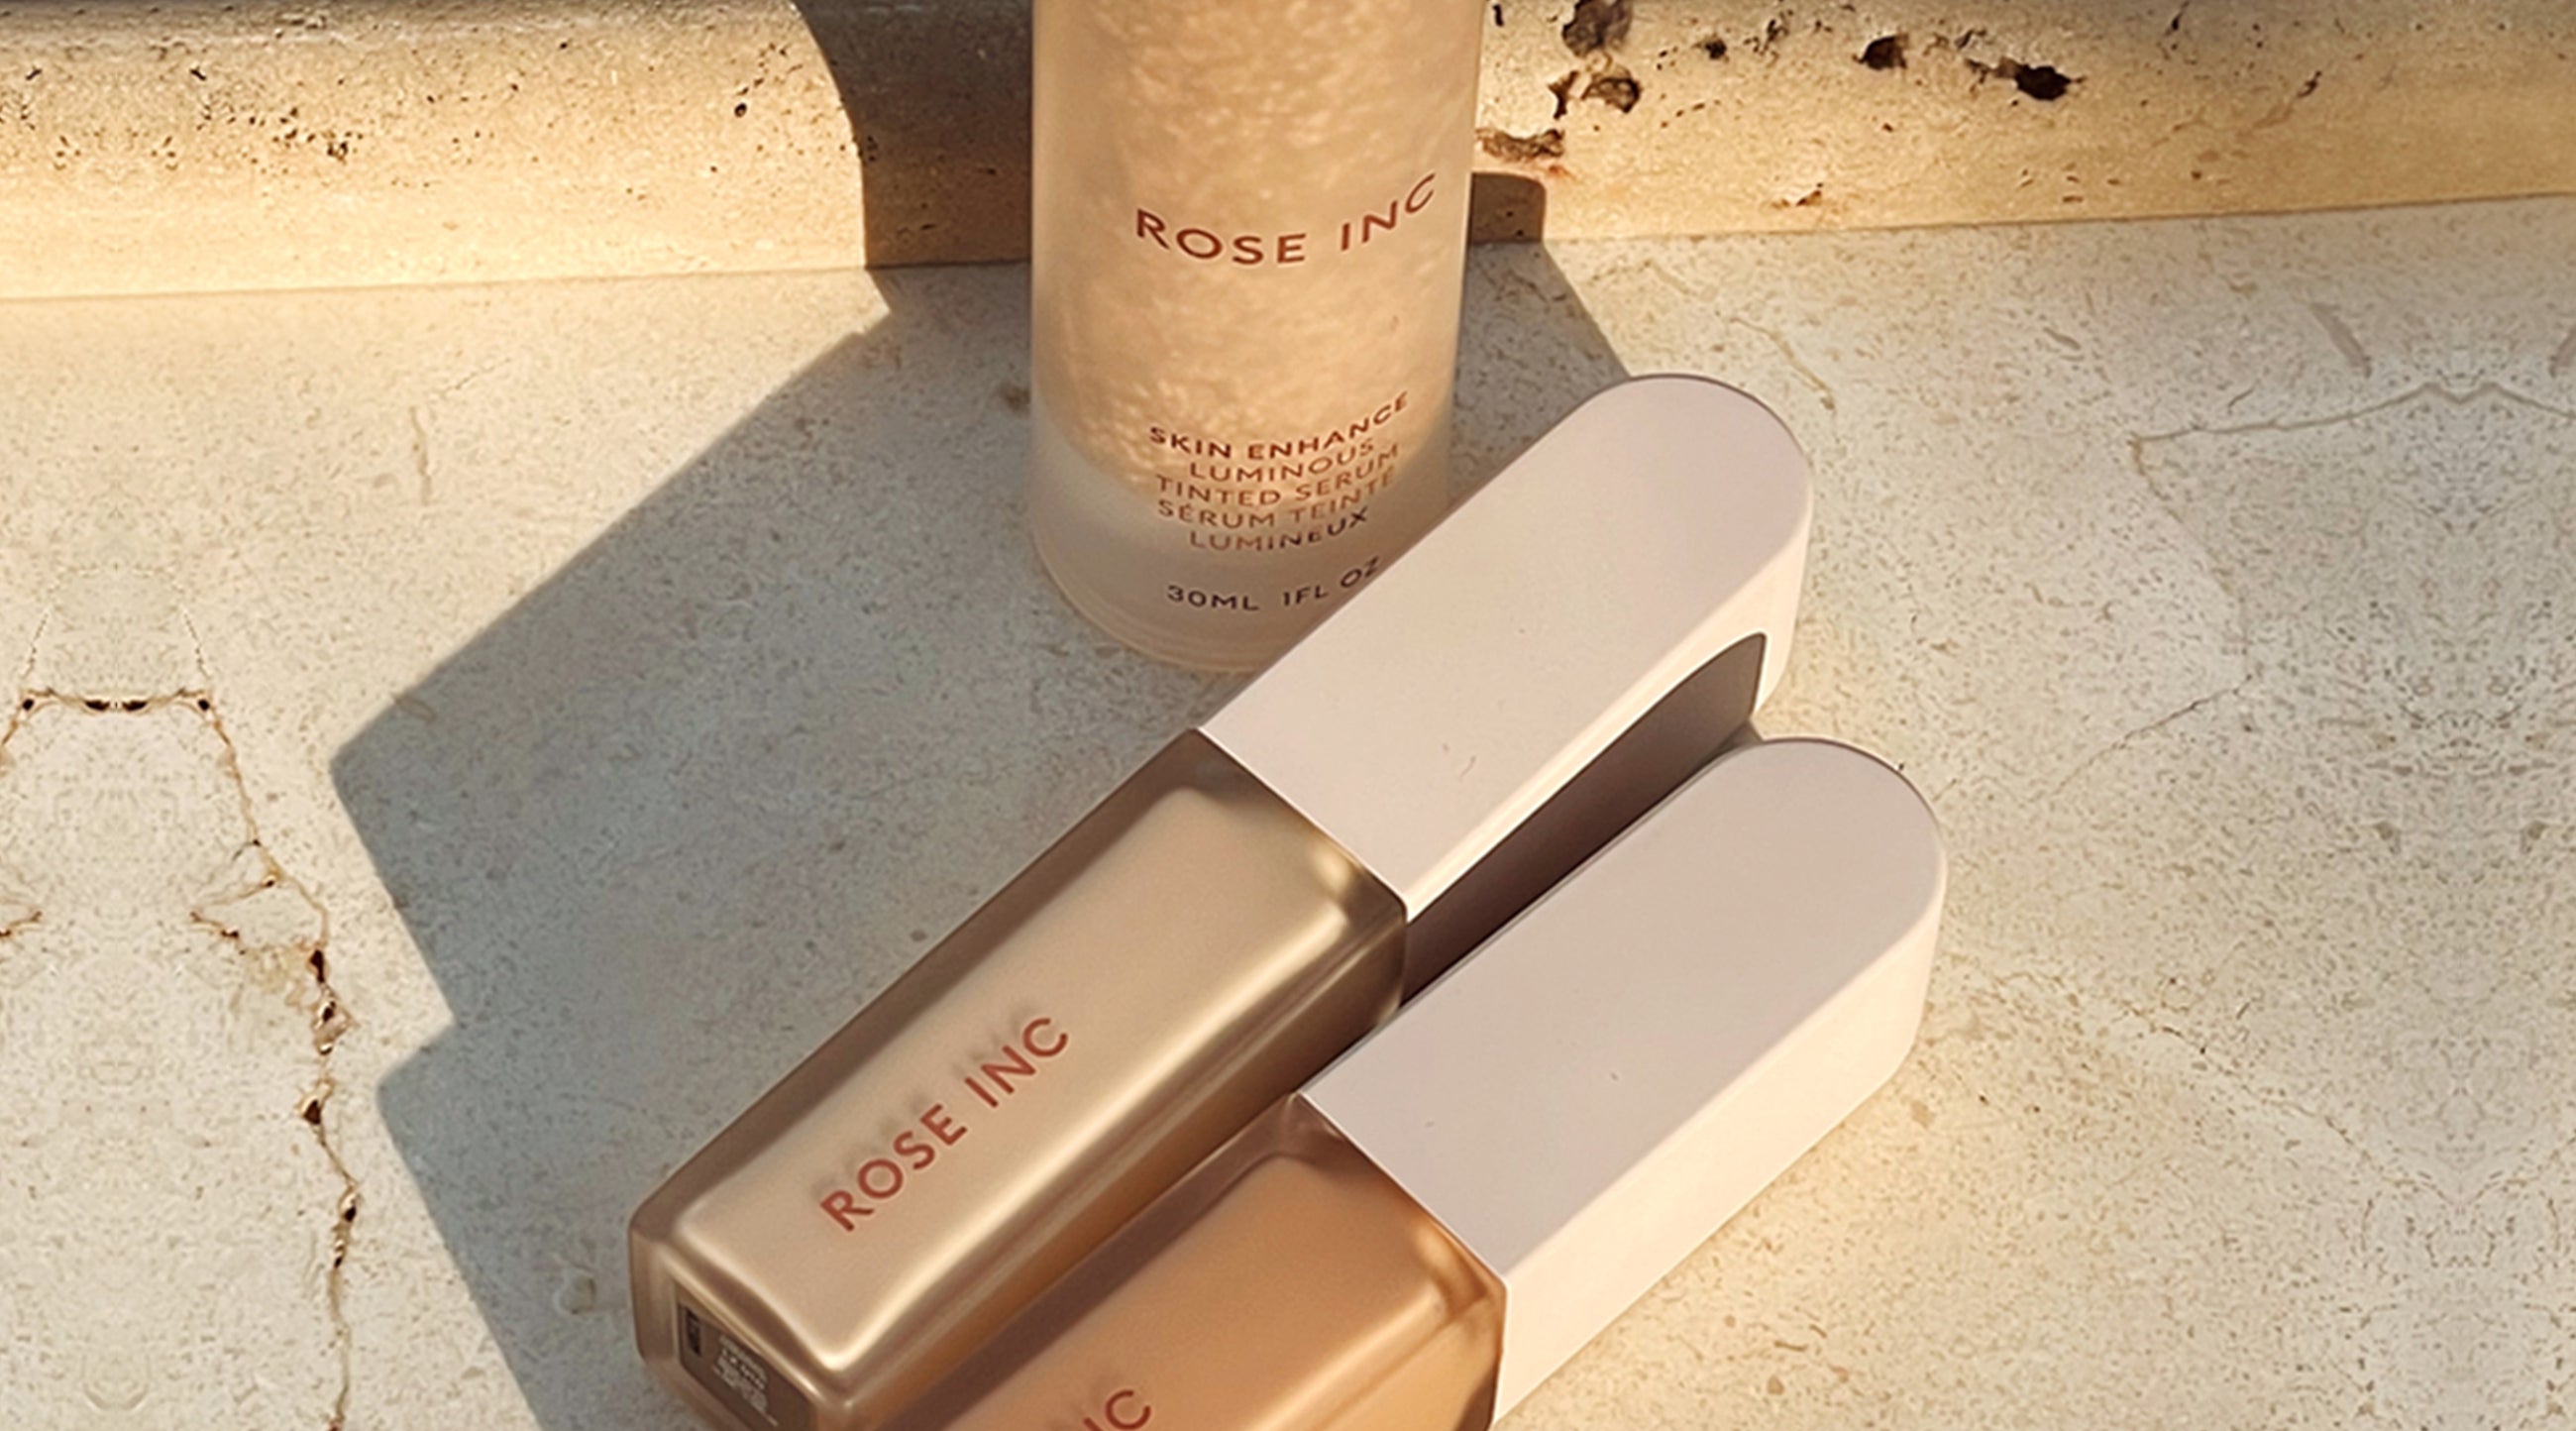
The Secret to Layering Tinted Serum and Concealer Flawlessly
Master the perfect application technique in four steps

When it comes to applying mascara, there’s nothing worse than unintentional clumping and the spidery, cartoonish lashes that can result. If you prefer a more feathery, fanned-out look, we're sharing how the pros apply mascara (yes, there’s a right way!), and the best ways to dump the clump, ahead.
One of the most common reasons mascara results in a clumpy look is because it’s old and has dried out. “Mascara is only good for up to three months," says makeup artist Rachel Duncan. She adds that replacing your mascara regularly is also good for eye health. “Expired mascara can lead to serious eye infections from the bacteria that can grow in the tube.”
 By Felix Ruiz Diez
Conversely, if the mascara is brand new, there’s the possibility of getting too much product on the wand, which can also lead to clumping. To remedy this, Duncan recommends gently running both sides of the wand along the rim of the tube to remove excess product.
Before applying any mascara, making sure your lashes are clean is essential. Duncan says applying mascara over leftover mascara from the day before will result in a clumpy, flaky look. If you’re unsure whether the lashes are fully clean, she suggests taking a clean mascara spoolie dipped in micellar water and swiping through the lashes to remove any dirt, oil or residue. Allow the lashes to dry thoroughly.
Prepping the lashes with a primer is an optional added step. “Mascara primers can be a great way to separate and condition the lashes before applying mascara,” Duncan says. “It will help the product go on smoother.”
Another mascara mistake: pumping the wand to add more product. “Pumping or pressing the wand into the tube in rapid succession pushes more air into the product," Duncan says. “The oxygen breaks down the formula, which is one of the reasons it thickens up, causing clumps.” Instead, she recommends swirling it in a stirring motion. “This will grab product from the sides of the tube without pushing air into your mascara.”
 By Felix Ruiz Diez
How you apply the mascara also matters. The secret, according to Duncan, is to start at the root of the lashes and then wiggle the wand back and forth. “This will help evenly distribute [the] product along the base of the lashes,” she says. “Then start pulling upwards from root to tip, coating the lashes with every pass of your wand.” Once you coat the lashes on one eye, repeat on the other eye without going into the tube for more mascara. Let the mascara dry for 30 seconds, and then go in for a second coat.
Some types of mascaras can be clumpier than others. Duncan notes volumizing mascaras tend to have large natural-haired fluffy brushes, making application harder to control. In this case, she suggests using a smaller plastic disposable wand with volumizing mascara formulas, so you get the fuller lash look without the clumps.
Duncan recommends looking for mascaras marketed as lengthening or defining. “These formulas typically aren’t as thick," Duncan says. “They also tend to come with smaller plastic wands that help separate the lashes, keeping them spaced out and mess-free.”
If despite your best efforts, mascara clumping does occur, there is an easy fix. “The best trick to save your mascara when it clumps is to immediately comb through the lashes with a clean spoolie while the formula is still wet,” Duncan says. “This will remove excess product and define the lashes. This trick has saved many model looks backstage.”
Squalane-infused-pigment allows for the deepest black possible and natural waxes instantly amplify volume for a full, fanned-out effect. The curved, dual-bristle brush delivers a clean, defined finish and natural curl that lasts.
Besotted
Beige pink
Add items to your bag to unlock this gift.
Satin Copper
Rich red copper
Heliotrope/Enigmatic
Apricot & Terracotta Pink
White Gold Shimmer
Light gold with pearl