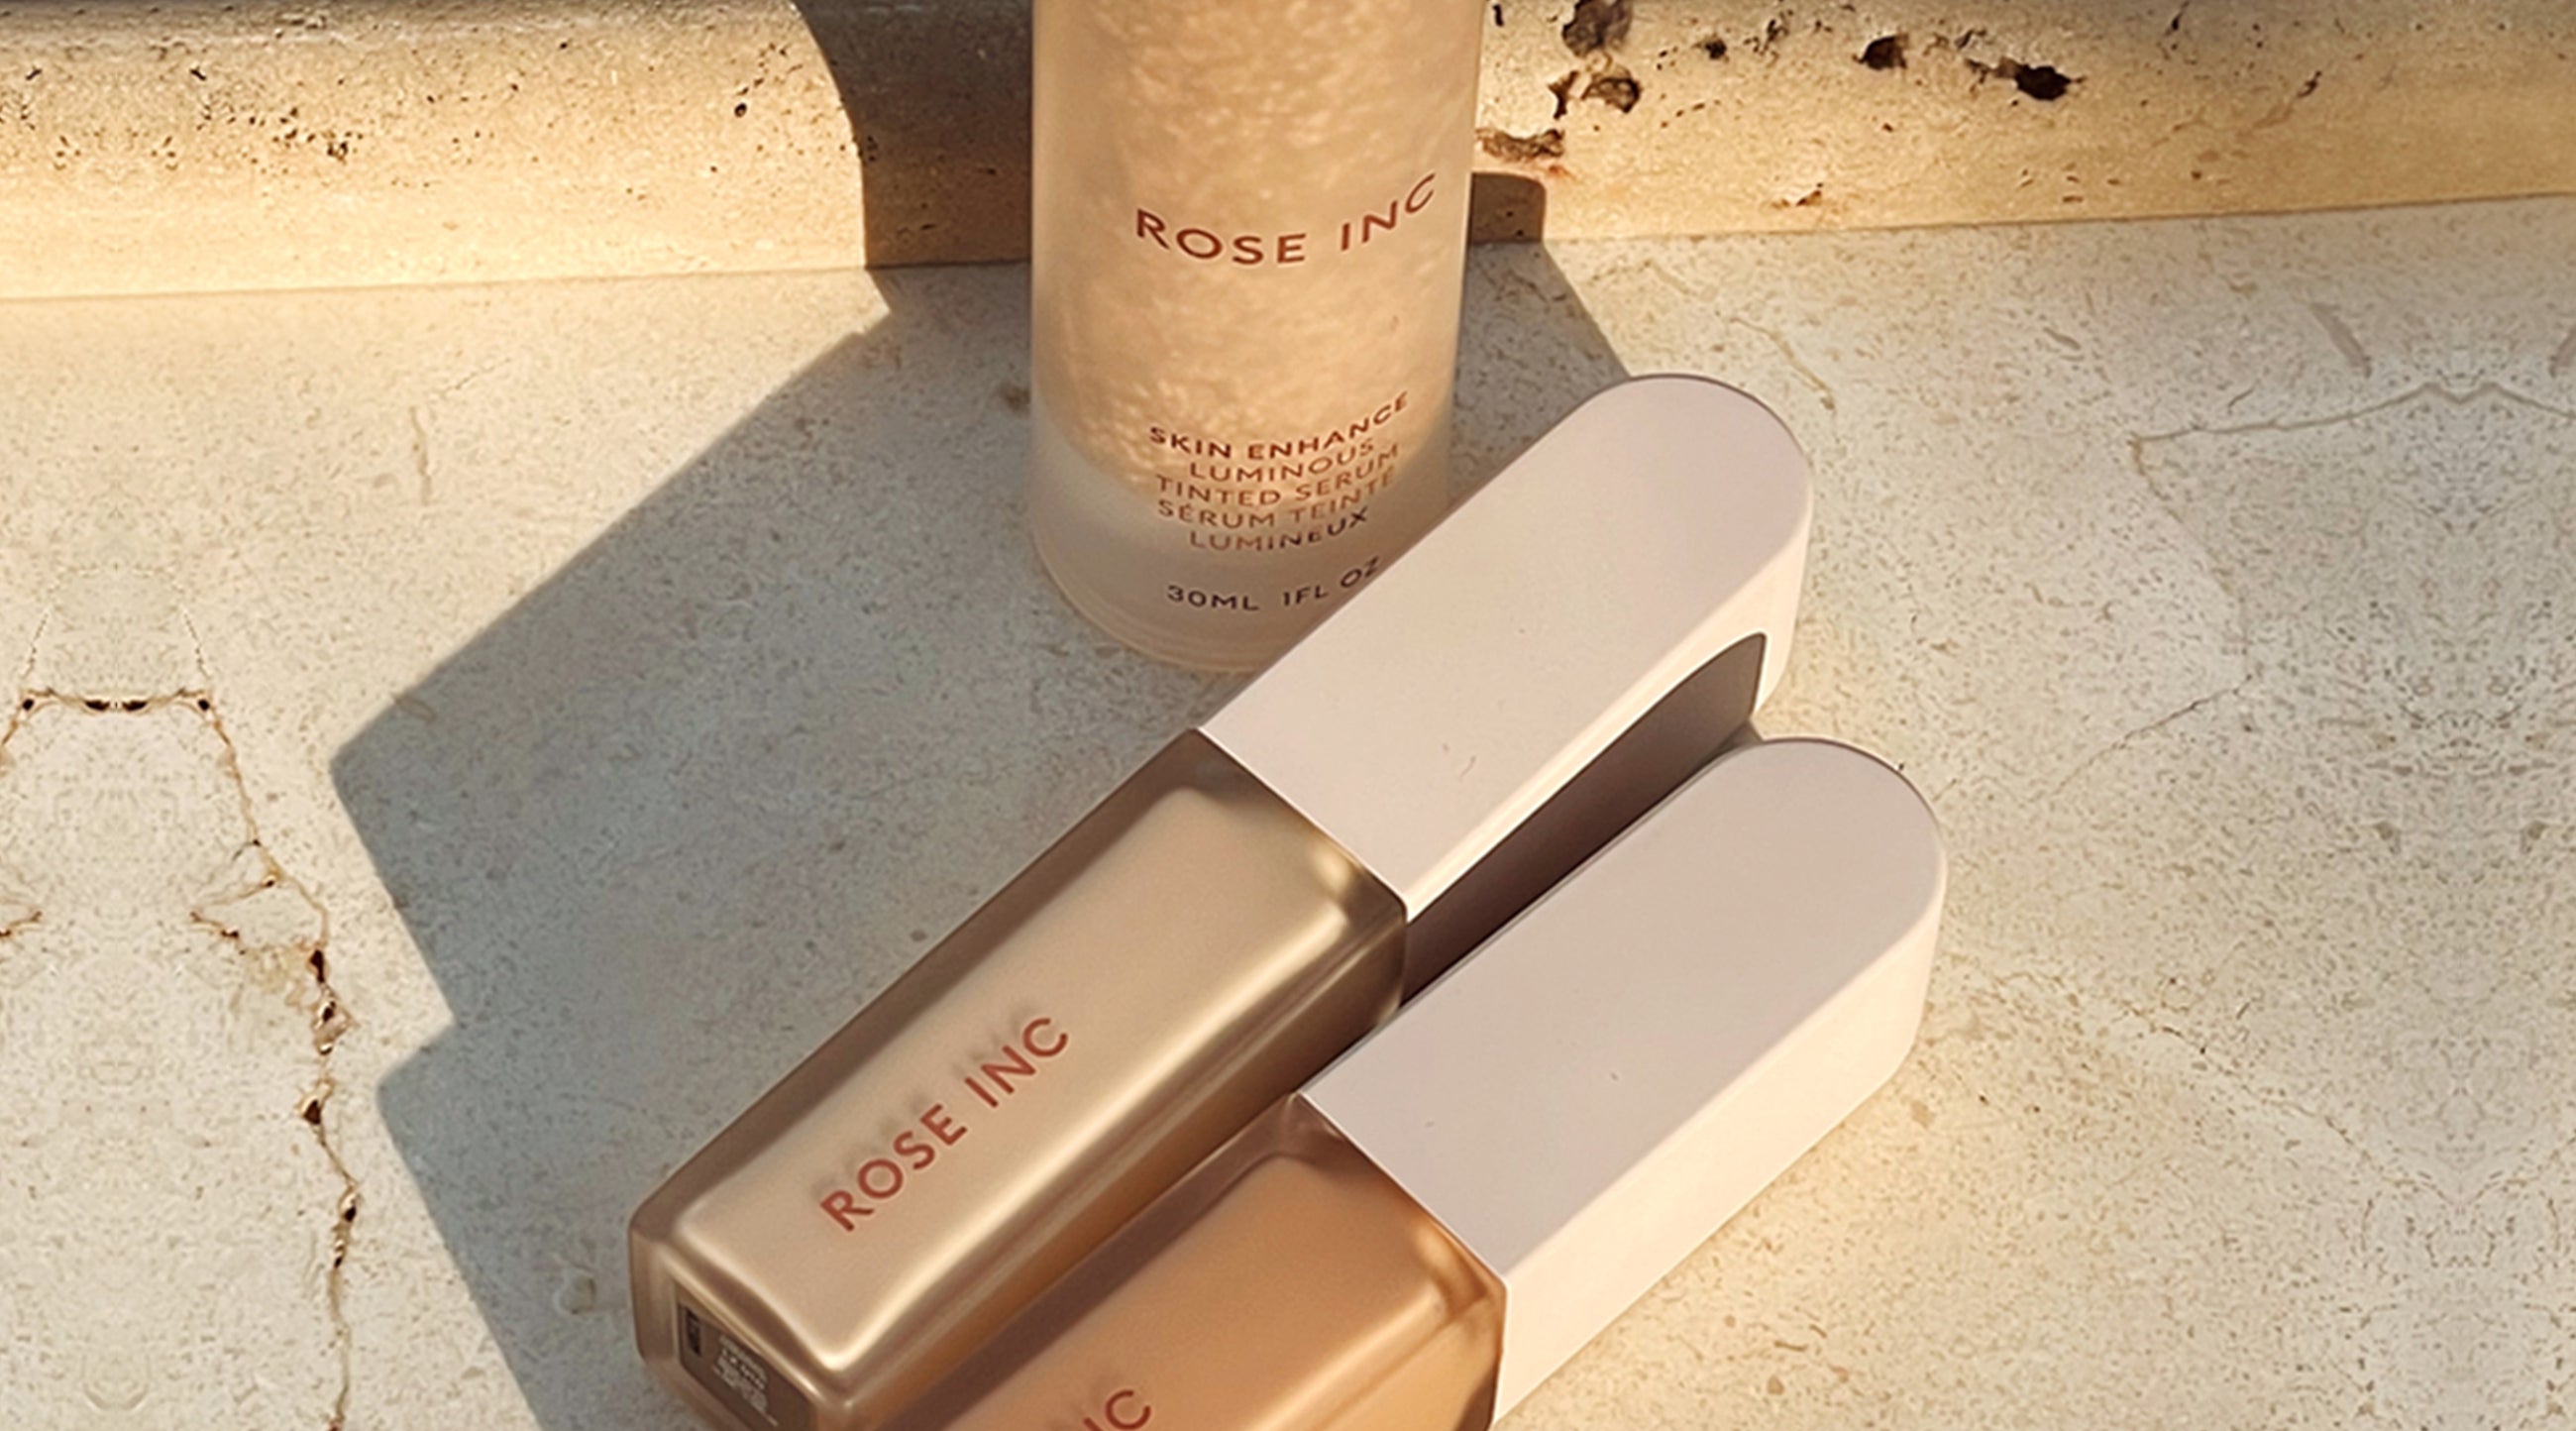
The Secret to Layering Tinted Serum and Concealer Flawlessly
Master the perfect application technique in four steps

Streaky makeup. Breakouts. Skin irritation. There are plenty of reasons to wash your makeup brushes regularly, but that doesn't make it any less tedious. Still, after each use, brushes accumulate more and more makeup, oil and bacteria, all of which can lead to many skin issues such as clogged pores, inflammation, and irritation. What's more, dirty brushes hinder a smooth and flawless application. Another piece of motivation: Taking good care of your makeup brushes with regular cleaning also extends their lifespan.
The question then is: how do you actually clean your makeup brushes? The process is simpler than you may think. Ahead, learn how to clean makeup brushes properly and best practices to follow.
 By Lena Herrmann
First and foremost, how often should you clean your makeup brushes? There is no one right answer. In an ideal world, experts would recommend washing them after each use. However, that’s not realistic in most cases. Cleaning your brushes once per week is a good rule of thumb to follow. Unlike makeup brushes, sponges should be washed after each use.
It’s also important to note that even if you just used a makeup brush once during the week, it still needs a wash because the longer it sits, the more bacteria it collects.
There are many cleansers on the market that are designed specifically for washing makeup brushes. To keep things simple, stick to ones without harsh formulas, fragrances, and dyes. Remember that you use the brushes on your face and don’t want anything to potentially cause a reaction. While a separate product could be helpful, a facial cleanser, castile soap, baby shampoo, or dish soap will also do the trick. Specifically, scent- and dye-free dish soap (which many experts use) works wonders at removing all the gunk — and a little goes a long way.
If you’re in a pinch, you can also use a brush cleanser meant for spot cleaning and sanitizing your makeup brushes in between uses when you don’t have time for a full, deep cleanse.
As far as cleansing tools go (such as gloves or silicone cleansing pads), some find them useful. Plus, they also help remove product build-up.
 By Lena Herrmann
1. Start by wetting the makeup brush’s bristles with lukewarm water. Ensure you only wet and wash the bristles and not the handle. Bristles are glued together, and if water seeps into the base, it can loosen the glue and lead to shedding.
2. Place a small amount of cleanser in the palm of your hand.
3. Massage the brush’s bristles in the palm of your hand. Allow it to get a nice lather, and ensure the bristles are fully saturated.
4. Rinse the bristles well with lukewarm water and repeat the process as needed until all makeup is removed.
 By Lena Herrmann
Once your makeup brushes are clean, properly drying them is also important. First, squeeze out any excess water using your fingers and a clean towel. Then place the brushes on a clean surface with the bristles hanging over the edge, and allow them to air dry, ideally overnight. Remember that you don’t want water to get into the base, so it’s important not to dry them in a vertical position with the bristles pointed up.
Although a good cleaning routine can help keep your makeup brushes in tip-top shape for years, you may still experience some wear and tear. Signs that it’s time to replace a makeup brush include excessive shedding, frayed bristles, a weird odor or if the brush has lost its original shape. Sponges, on the other hand, should be replaced monthly.
Besotted
Beige pink
Add items to your bag to unlock this gift.
Satin Copper
Rich red copper
Heliotrope/Enigmatic
Apricot & Terracotta Pink
White Gold Shimmer
Light gold with pearl